How to Compress High-Res Images Securely Without Cloud Uploads
To reduce the file size of high-resolution photos and design assets without uploading them to a cloud server, you need a local image compressor that processes the pixel data directly inside your browser's graphics memory via the HTML5 Canvas API. Here is the precise technical pipeline Utilitly uses.
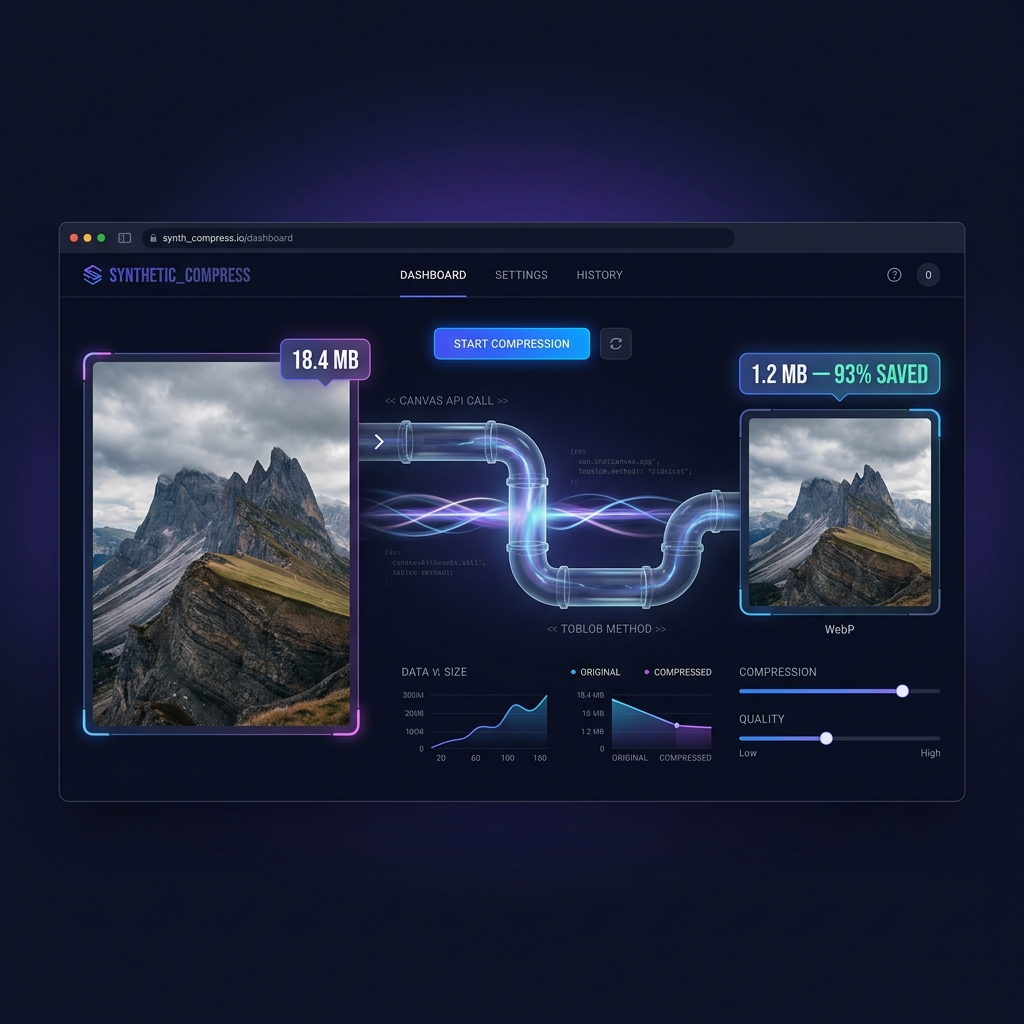
A common mistake we see when people try to shrink an already-compressed photo is running it through a second lossy pass at low quality — which amplifies the blocky DCT artifacts from the first save instead of removing them. Compression only behaves predictably when it starts from the original file. That matters more than it sounds, because the whole point of local, canvas-based compression is that it lets you keep re-running the pipeline against your untouched source as many times as you need — at a smaller quality setting, or a different output format — without uploading that source anywhere in between.
For photographers delivering raw shoot exports, UX designers compressing Figma exports before client delivery, or marketing teams reducing banner asset payloads for faster page loads, the need is universal: achieve significant file size reduction without the quality destruction of aggressive server-side algorithms and without feeding your visual IP to platforms with opaque data retention policies.
Why Cloud Image Compressors Are an Intellectual Property Risk
The dominant server-side free image compression tools—TinyPNG, iLoveIMG, Kraken.io, and their equivalents—resolve the compression computation on remote server infrastructure. This means your image is transmitted in full to a third-party data center before any processing occurs.
[Your 18.4 MB RAW Image]
        │
        ▼
[Browser → Outbound WAN Upload]
        │
        ▼
[Third-Party Cloud Server]
├── Image ingested into server memory
├── Pixel matrix decoded and re-encoded
├── Compressed output file generated
└── Original file retained in server cache
        │
        ▼
[Compressed Download] ◄── returned to browser
The privacy exposure is significant and multi-layered. First, your original high-resolution file—which may contain watermarked draft artwork, client photography with model releases, or proprietary product photography—is transmitted in full over a public network. Second, cloud providers frequently maintain file retention windows of 24–72 hours for "processing reliability," meaning your image binary persists on foreign hardware long after your session ends. Third, and most critically, an increasing number of "free" image tools have updated their terms of service to permit the use of uploaded images for AI model training and product improvement—a policy that effectively strips you of control over your visual intellectual property the moment you click upload.
For commercial photographers whose raw exports represent billable deliverables, this is an untenable operational risk. For design agencies compressing unreleased brand assets, it is a potential contractual breach of client confidentiality agreements.
How HTML5 Canvas Compression Works in Local Graphics Memory
Utilitly's image compression engine bypasses the cloud entirely by executing the full decode-encode pipeline within your browser's local graphics memory, using only native browser APIs that have zero network surface area.
[Source Image File: 18.4 MB PNG]
        │
        ▼
[FileReader → Object URL in Local RAM]
        │
        ▼
[HTMLImageElement.decode()]
→ Pixel matrix loaded into GPU graphics memory
        │
        ▼
[Canvas 2D Context: ctx.drawImage(img, 0, 0)]
→ Full resolution bitmap written to canvas buffer
        │
        ▼
[canvas.toBlob(callback, mimeType, quality)]
→ Re-encodes pixel matrix to WEBP / JPEG / PNG
→ Quality coefficient (0.3 – 0.8) applied to
  DCT quantization table (JPEG) or VP8 codec (WEBP)
        │
        ▼
[Blob → Local Object URL]
→ Download served directly from browser memory
→ Zero network socket opened
The core of the compression operation is the canvas.toBlob(callback, mimeType, quality) call. This is a native browser API function that instructs the browser's built-in image codec to re-encode the current canvas bitmap into the specified MIME type at the specified quality coefficient. Before the pixel bitmap is written to the canvas, the image is decoded via Bicubic resampling — a 4×4 pixel neighborhood interpolation algorithm that preserves edge sharpness and reduces aliasing artifacts at reduced output dimensions. The quality parameter maps directly to the codec's quantization aggressiveness:
- WebP (VP8 encoder): Quality coefficient controls the VP8 rate control target. At 0.6 (Medium), the encoder targets a bitrate that typically achieves 60–85% size reduction on photographic content while maintaining perceptually lossless visual output at normal viewing distances.
- JPEG (DCT encoder): Quality maps to the Discrete Cosine Transform quantization matrix density. At 0.6, high-frequency spatial detail (fine texture, grain) is discarded while low-frequency luminance data (edges, shapes, primary color regions) is preserved in full.
- PNG (lossless): The quality coefficient is ignored. PNG uses a lossless DEFLATE algorithm, so the output is mathematically identical to the input at the pixel level. Size reduction for PNG is limited to metadata stripping and compression level tuning.
The entire pipeline executes within the browser's renderer process—a sandboxed operating environment isolated from the host OS network stack. At no point does the image data touch a socket buffer, DNS resolver, or network interface card. The output Blob exists solely in the browser's local heap memory until you click download.
Expected Compression Ratios by Format and DPI Target
| Source Format | Output Format | Quality Coefficient | Typical Size Reduction |
|---|---|---|---|
| JPEG (300 DPI photo) | WebP | 0.6 (Medium) | 65–85% reduction |
| PNG (transparent UI asset) | WebP | 0.6 (Medium) | 50–70% reduction |
| PNG (lossless) | PNG | N/A (lossless) | 5–25% (metadata + DEFLATE optimization only) |
| JPEG (300 DPI photo) | JPEG | 0.6 (Medium) | 40–65% reduction |
Important: PNG → PNG compression yields significantly lower ratios than JPEG or WebP targets because PNG is already lossless — the re-encode cannot discard pixel data. For PNG assets where file size is a priority, converting to WebP at 0.8 quality achieves 50–70% size reduction while maintaining visual transparency and near-lossless quality.
WebP vs. JPEG vs. PNG: Choosing the Right Output Format
Utilitly's compressor supports three output formats. The correct choice depends on your use case and the nature of the source image's content:
| Format | Encoding Type | Best Use Case | Typical Size Reduction |
|---|---|---|---|
| WebP | Lossy (VP8) + Lossless (VP8L) | Web publishing, social media, email assets | 60–93% vs. source JPEG/PNG |
| JPEG | Lossy (DCT) | Photography, print previews, legacy compatibility | 40–80% vs. raw source |
| PNG | Lossless (DEFLATE) | UI assets, logos, screenshots with text | 5–30% metadata/header stripping only |
For the majority of photographic and marketing content, WebP at Medium quality (0.6 coefficient) is the optimal default. Modern browsers and email clients support WebP natively. The VP8 encoder preserves perceptual sharpness across gradients and skin tones more effectively than JPEG's DCT algorithm at equivalent file sizes, making it the superior choice for both web delivery and client presentations.
Local Canvas Compression vs. Cloud Compressors: A Direct Comparison
| Evaluation Vector | TinyPNG / iLoveIMG / Kraken.io (Cloud) | Utilitly.com Canvas Engine |
|---|---|---|
| Image Data Transmission | Full file uploaded over WAN to remote server | Zero bytes transmitted; local GPU memory only |
| AI Training Data Risk | Many tools reserve rights to use uploads for model training | Architecturally impossible; file never leaves browser |
| Server File Retention | 24–72 hour cache on third-party infrastructure | Zero; RAM cleared on tab close |
| Processing Speed | Throttled by upload bandwidth and server queue | Near-instant; bound only by local GPU throughput |
| Output Format Options | Varies; often limited per tool | WebP, JPEG, PNG — selectable per compression |
| Quality Control | Fixed algorithm; opaque quality settings | Low / Medium / High quality tiers, fully transparent |
| Cost | Free tier with upload limits; paid for bulk | Free, no account required, unlimited files |
Who Should Use a Local Image Compressor
- Commercial Photographers: Compressing high-resolution RAW exports or client delivery proofs without transmitting unreleased shoot content to servers governed by foreign data retention laws.
- UX and Graphic Designers: Reducing Figma exports, mockup screenshots, and brand asset packages before client delivery without risking IP exposure via cloud tool upload logs.
- Marketing and Content Teams: Shrinking social media visuals, website banner assets, and email campaign images locally to meet platform file size limits without sacrificing visual quality.
- E-commerce Operators: Compressing product photography at scale for web publishing without paying per-image SaaS fees or uploading catalogue images to unaudited third-party infrastructure.
- Healthcare and Legal Professionals: Compressing document scan images, medical photography, or court exhibit files that may contain PHI or legally privileged visual content that cannot be transmitted externally.
Step-by-Step: How to Compress an Image Locally Without Uploading
- Open the Canvas Engine: Navigate to the Image Compressor on Utilitly.com. The local canvas compression runtime initializes immediately in your browser's graphics context. No server handshake occurs.
- Load Your Source Image: Click the upload zone or drag and drop your PNG, JPG, or WebP file. The browser reads the file into local memory via the FileReader API. At this point, the file exists exclusively in your device's RAM. Nothing has been transmitted.
- Select Your Output Format: Choose WebP for maximum compression on photographic content, JPEG for legacy compatibility, or PNG for lossless output. The selected MIME type is passed directly to the Canvas
toBlobencoder. - Set the Compression Level: Choose Low (high quality, moderate size reduction), Medium (optimal perceptual quality-to-size ratio), or High (aggressive compression, maximum file size reduction). This maps directly to the quality coefficient in the
toBlobcall. - Execute the Local Compression: Click Compress Image. The browser decodes the source image into the Canvas graphics buffer, re-encodes it at your specified quality level, and produces a local Blob URL. The original size, compressed size, and percentage saved are displayed immediately.
- Download or Vault the Output: Click Download to save the compressed image directly to your local drive, or use Save to Vault to store it in your encrypted Utilitly Vault for secure retrieval across devices. Your original source file is untouched.
Your Images Belong on Your Device, Not a Cloud Server
Per Google's own web.dev performance guidance, image weight is consistently one of the largest contributors to slow page loads — which is a good independent reason to compress aggressively, separate from the privacy argument. Every "free" cloud compressor adds a second cost on top of that: your images are transmitted, cached, analyzed, and in some cases used to train commercial AI systems, all under terms of service that most users never read. A local Canvas compression engine eliminates that second layer entirely by making data transmission architecturally impossible.
Navigate to the Image Compressor on Utilitly.com and process your first high-resolution image entirely within your own browser's graphics memory—no upload, no retention, no risk.
Frequently Asked Questions
What compression level should I use for email vs. web publishing?
For email attachments, Medium (0.6) to High compression in WebP or JPEG keeps files well under typical attachment limits with minimal visible quality loss. For web publishing, WebP at Medium quality is usually the best balance — modern browsers support it natively and it beats JPEG on file size at equivalent visual quality. Reserve Low compression / higher quality for images that will be viewed at full size or printed.
Does compressing a PNG lose quality the way JPEG does?
No. PNG uses lossless DEFLATE compression, so re-encoding a PNG as a PNG doesn't discard any pixel data — size reduction there comes only from metadata stripping and compression-level tuning, typically 5–30%. If you need a bigger size reduction on a PNG, converting it to WebP (which supports lossless mode) or JPEG will get you further, at the cost of some quality if you go lossy.
Will compression strip the EXIF or GPS location data from my photos?
Yes. As part of the compression pass, Utilitly strips XMP/EXIF metadata blocks — including embedded GPS coordinates, camera model, and editing-software tags — since none of that data affects how the image displays and removing it also reduces file size. If you need to preserve attribution metadata for licensing reasons, compress a copy and keep the original file intact.
Can I compress multiple images at once?
The compressor processes images through the same local Canvas pipeline whether you load one file or several; each image is decoded, resampled, and re-encoded independently in your browser's graphics memory, so batch size is limited only by your device's available RAM, not by a server-side queue or upload cap.